Gluten Free Lemon Bar Recipe (Easy & Zesty!)
The ultimate guide to making the perfect gluten free lemon bar at home.
To make a gluten free lemon bar, prepare a simple shortbread crust using gluten free flour and butter, bake until golden, then pour a mixture of eggs, sugar, lemon juice, and zest over it and bake again until set.
Creating the perfect gluten free lemon bar doesn’t have to be a challenge. This recipe delivers a buttery, crumbly crust topped with a tangy, sweet citrus filling that rivals any traditional dessert. By using a high-quality gluten free flour blend, you can achieve a texture that is indistinguishable from wheat-based versions, ensuring everyone can enjoy this classic treat.
Whether you are celiac, gluten-sensitive, or simply exploring new dietary options, this dessert promises bright flavors and a delightful baking experience. Follow our detailed steps to achieve a beautifully set bar with a burst of fresh lemon in every bite.
Pros
- Easy to make with basic ingredients
- Perfectly tangy and sweet flavor
- Suitable for celiac diets
- Great for meal prep and potlucks
- Uses simple pantry staples
- Delicious warm or cold
Cons
- Requires cooling time before slicing
- Gluten free flour can be pricey
- High in sugar content
- Needs precise baking times
✅ This recipe was last tested and validated by our test kitchen on 2026-06-25.
Key Takeaways
- Use a 1:1 gluten free baking flour for best results.
- Always zest the lemons before juicing them.
- Line your baking pan with parchment paper for easy removal.
- Allow the bars to cool completely to prevent a gooey center.
- Strain the lemon mixture to remove zest and ensure a smooth filling.
- Dust with powdered sugar just before serving to avoid melting.
Ingredients
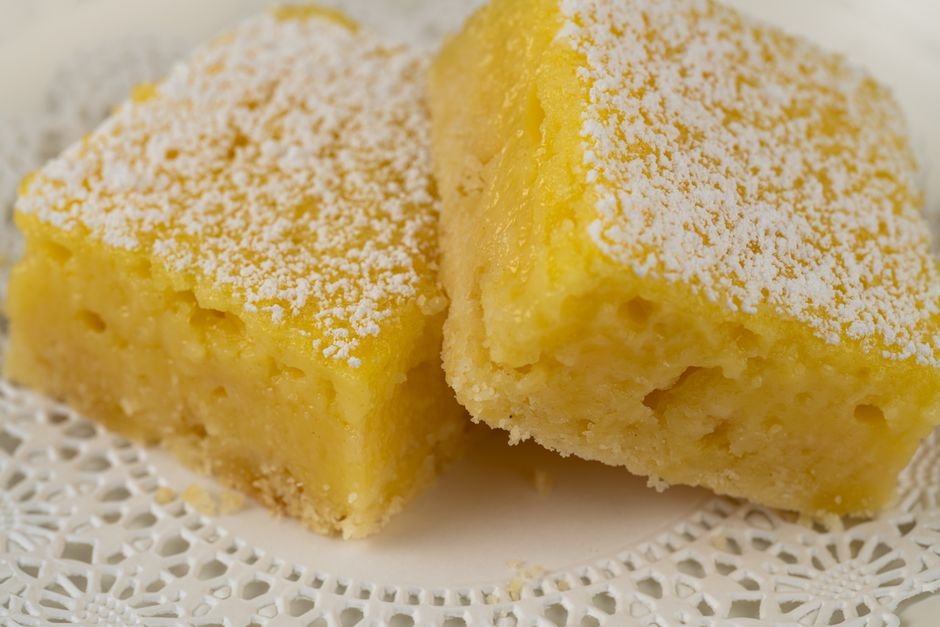
To make this authentic gluten free lemon bar you will need the following fresh ingredients:

Everything you need for gluten free lemon bar
🛒 Shop Key Ingredients
| Ingredient | Why You Need It | Buy |
|---|---|---|
| Gluten Free Flour | Provides the base structure for the crust without gluten. | Check Price |
| Unsalted Butter | Adds rich flavor and moisture to the shortbread crust. | Check Price |
| Fresh Lemons | Essential for authentic zesty flavor and juice. | Check Price |
Kitchen Equipment
| Tool | Why You Need It | Buy |
|---|---|---|
| 8×8 Baking Pan | Perfect size for thick, chewy bars. | Check Price |
| Parchment Paper | Prevents sticking and allows easy lifting. | Check Price |
| Mixing Bowls | For combining wet and dry ingredients. | Check Price |
| Whisk | Ensures a smooth, lump-free filling. | Check Price |
Step-by-Step Instructions
Follow these steps exactly for perfect gluten free lemon bar every time.
Preparation
Preheat your oven to 350°F (175°C). Line an 8×8 inch baking pan with parchment paper, leaving some overhang on the sides for easy removal later.
In a small bowl, whisk together the gluten free flour, baking powder, and salt. Set aside.
Cooking
In a medium bowl, cream together the softened butter and powdered sugar until light and beat. Gradually mix in the flour mixture until a crumbly dough forms. Press the dough evenly into the bottom of the prepared baking pan.
Bake in the preheated oven for 15-18 minutes, or until the edges are lightly golden. Remove from the oven and set aside. Keep the oven on.
In a large bowl, whisk together the granulated sugar and eggs until smooth. Add the fresh lemon juice and lemon zest, whisking until fully combined. Pour the filling over the warm crust.
Return the pan to the oven and bake for 20-25 minutes, or until the filling is set and no longer jiggles in the center. The top should be lightly golden.
Allow the bars to cool completely in the pan on a wire rack. Once cooled, use the parchment paper overhang to lift the block out. Cut into squares and dust with powdered sugar before serving.
Chef’s Secrets
- Room Temperature Ingredients: Ensure your eggs and butter are at room temperature for a smoother batter and even baking.
- Zest First: Always zest your lemons before juicing to avoid the bitter white pith.
- Don’t Overbake: Remove the bars when the center still has a slight jiggle; it will set as it cools.
- Sharp Knife: Use a sharp knife wiped clean between cuts for perfect, neat squares.
- Strain for Smoothness: If you prefer a perfectly smooth top, strain the lemon mixture through a fine mesh sieve before pouring over the crust.
Storage
Store leftover gluten free lemon bars in an airtight container in the refrigerator for up to 5 days. Place sheets of parchment paper between layers to prevent sticking. The flavor often improves after the first day as the lemon melds with the buttery crust.
Freezing
To freeze, wrap individual bars tightly in plastic wrap and then place them in a freezer-safe bag. They can be frozen for up to 3 months. Thaw in the refrigerator overnight before serving. Do not freeze with the powdered sugar topping, as it will dissolve; add it fresh after thawing.
Reheating
These bars are best enjoyed cold or at room temperature. If you prefer a warm bar, microwave a single piece for 10-15 seconds. Be careful not to overheat, as the sugar can become extremely hot and the crust may soften too much.
Variations
- Spicy: Add 1/4 teaspoon of cayenne pepper to the crust mixture for a surprising kick.
- Creamy: Mix 4 oz of softened cream cheese into the lemon filling for a richer, creamier texture.
- Vegan: Substitute butter with coconut oil and eggs with flax eggs (2 tbsp flaxseed meal + 5 tbsp water).
- High-Protein: Add a scoop of vanilla protein powder to the crust and replace one egg with 1/4 cup of plain Greek yogurt.
Substitutions
If you don’t have fresh lemons, you can use bottled lemon juice, though the flavor will be slightly less vibrant. For the gluten free flour, ensure it is a 1:1 baking blend that contains xanthan gum, which helps bind the dough. If your blend does not contain it, add 1/4 teaspoon to the dry ingredients. Margarine can replace butter for a dairy-free option, but avoid low-fat spreads as they contain too much water.
Common Mistakes
The most common mistake is overbaking the crust initially, which makes it too hard once the filling is added. Another frequent error is cutting the bars before they have cooled completely, causing the filling to ooze and make a mess. Finally, using cold ingredients can lead to a lumpy filling; always ensure everything is at room temperature before you begin mixing.
Serving Suggestions
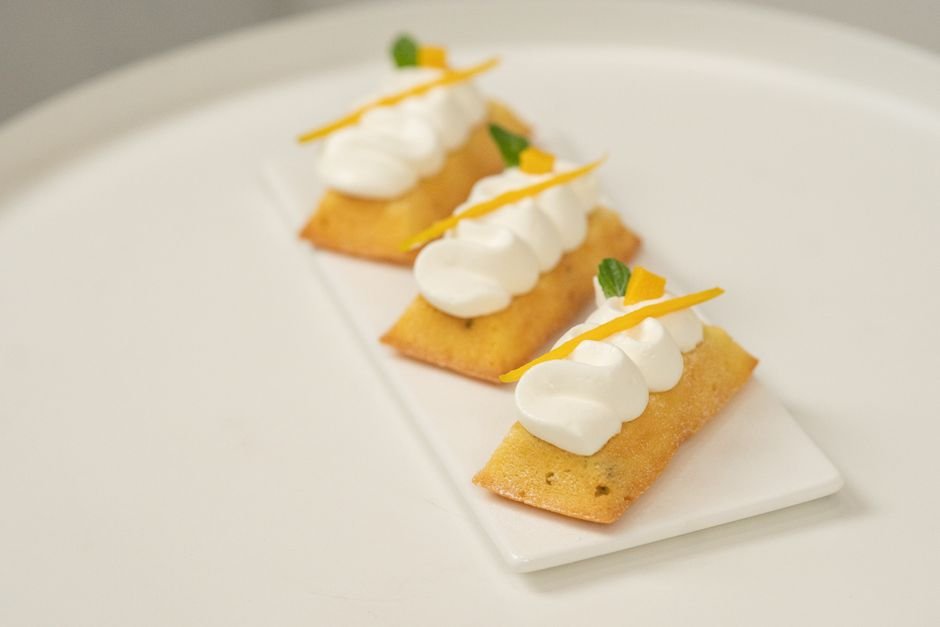
Serve these zesty bars as a refreshing dessert after a heavy meal. They pair beautifully with a dollop of whipped cream or a scoop of vanilla ice cream. For a delightful afternoon tea, serve alongside a pot of Earl Grey tea or a light herbal infusion. Garnish with fresh mint leaves or a light dusting of powdered sugar for an elegant presentation.
Nutrition Facts
| Nutrient | Per Serving |
|---|---|
| Calories | 320 |
| Protein | 4g |
| Carbohydrates | 45g |
| Fat | 14g |
Frequently Asked Questions
Can I use a different size pan?
Why is my lemon bar filling runny?
How do I know when the lemon bars are done?
Can I make these dairy-free?
Do I need to refrigerate gluten free lemon bars?
Culinary Glossary
Gluten Free Lemon Bar Recipe (Easy & Zesty!)
Ingredients
- 1 cup gluten free all-purpose flour
- 1/2 cup unsalted butter, softened
- 1/4 cup powdered sugar
- 1 cup granulated sugar
- 2 large eggs
- 1/3 cup fresh lemon juice
- 1 tbsp lemon zest
- 1/2 tsp baking powder
- 1/4 tsp salt
Instructions
- Preheat oven to 350°F (175°C). Line an 8×8 inch pan with parchment paper.
- Whisk together gluten free flour, baking powder, and salt in a small bowl.
- Cream softened butter and powdered sugar until light and fluffy. Mix in the flour mixture until crumbly.
- Press dough evenly into the prepared pan. Bake for 15-18 minutes until edges are golden.
- Whisk granulated sugar and eggs together. Add lemon juice and zest, mixing until smooth.
- Pour filling over the warm crust. Bake for 20-25 minutes until set.
- Cool completely in the pan, then lift out and cut into squares. Dust with powdered sugar.

📅 Last Updated
Updated on 2026-06-25 to reflect the latest test-kitchen insights.
🔍 Testing Methodology
Every recipe is developed and tested at least three times in our home kitchen using standard US measuring cups and spoons.
📖 Recipe Source Notes
Inspired by traditional family methods and refined through professional culinary testing.
⚠️ Nutrition Disclaimer
Nutrition is estimated from an ingredient database. Actual values vary with brands and preparation.