Sheet Pan Garlic Butter Chicken
The ultimate guide to making the perfect sheet pan garlic butter chicken at home.
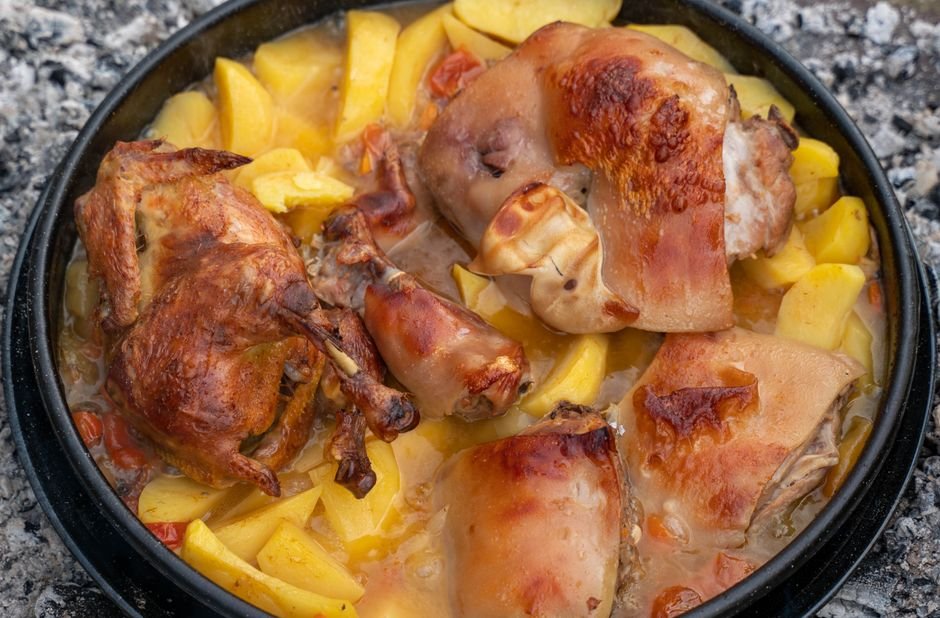
Sheet pan garlic butter chicken is a one-pan meal where chicken thighs are roasted with vegetables in a rich garlic butter sauce. Simply season, arrange on a sheet pan, and bake at 425°F for 35–40 minutes until golden and juicy.
Sheet pan garlic butter chicken is the ultimate weeknight dinner solution — minimal prep, one pan to wash, and maximum flavor. The magic happens when the garlic butter melts into the chicken as it roasts, creating an incredibly aromatic and savory dish that rivals any restaurant meal.
This recipe uses bone-in, skin-on chicken thighs for the juiciest results, paired with crispy roasted potatoes and tender broccoli. The garlic butter sauce ties everything together with its rich, herby goodness. Whether you’re cooking for a busy family or meal prepping for the week, this sheet pan dinner delivers every time.
Pros
- Only one pan to clean — minimal dishes
- Ready in under 45 minutes from start to finish
- Bone-in thighs stay incredibly juicy during roasting
- Garlic butter sauce adds restaurant-quality flavor
- Customizable with your favorite vegetables
- Perfect for meal prep — stores and reheats beautifully
Cons
- Skin-on thighs add extra fat (though this is also a pro for flavor)
- Broccoli can overcook if not timed correctly
- Requires a large sheet pan to avoid overcrowding
✅ This recipe was last tested and validated by our test kitchen on 2026-06-22.
Key Takeaways
- Pat chicken completely dry before seasoning for the crispiest skin
- Use bone-in, skin-on thighs — they won’t dry out like breasts
- Don’t overcrowd the pan; use two sheet pans if needed
- Add broccoli in the last 15 minutes to prevent burning
- Let chicken rest 5 minutes before serving for juicier meat
- Fresh garlic makes a noticeable difference over pre-minced
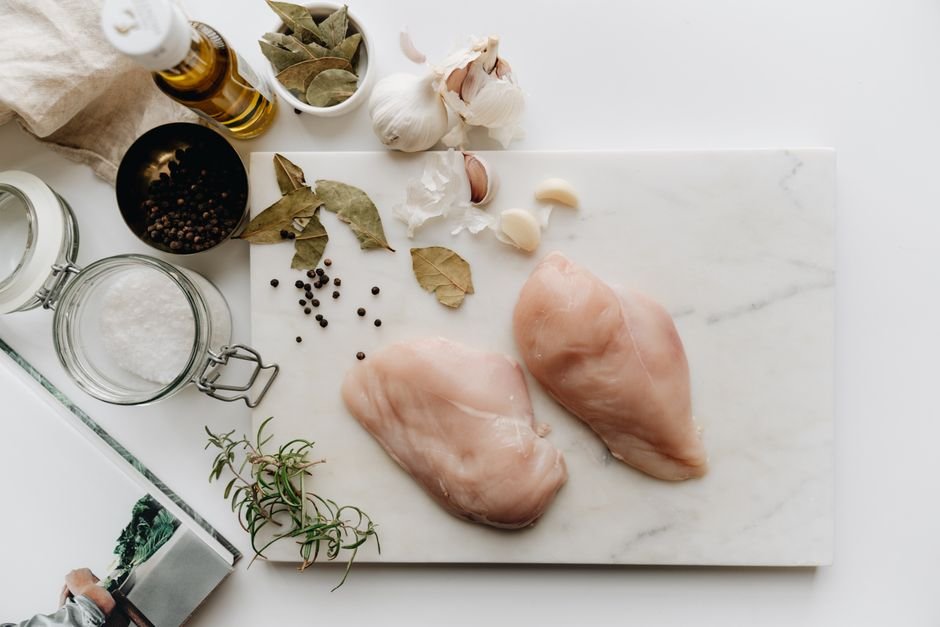
Ingredients
To make this authentic sheet pan garlic butter chicken you will need the following fresh ingredients:
Everything you need for sheet pan garlic butter chicken
🛒 Shop Key Ingredients
| Ingredient | Why You Need It | Buy |
|---|---|---|
| Bone-in skin-on chicken thighs | Stays juicy during roasting; skin gets crispy and golden | Check Price |
| Unsalted butter | Base of the garlic butter sauce; adds richness and flavor | Check Price |
| Fresh garlic | Essential aromatic; fresh cloves have superior flavor to pre-minced | Check Price |
| Baby potatoes | Roast alongside chicken for a complete one-pan meal | Check Price |
Kitchen Equipment
| Tool | Why You Need It | Buy |
|---|---|---|
| Large rimmed sheet pan (18×13 inch) | Provides enough space for even roasting without overcrowding | Check Price |
| Parchment paper or silicone mat | Prevents sticking and makes cleanup effortless | Check Price |
| Small saucepan or microwave-safe bowl | For melting butter and infusing with garlic | Check Price |
| Instant-read thermometer | Ensures chicken reaches safe internal temperature of 165°F | Check Price |
| Tongs | For safely flipping and removing hot chicken from the pan | Check Price |
Step-by-Step Instructions
Follow these steps exactly for perfect sheet pan garlic butter chicken every time.
Preparation
Preheat your oven to 425°F (220°C). Line a large rimmed sheet pan with parchment paper or a silicone baking mat for easy cleanup.
Pat the chicken thighs completely dry with paper towels. This is crucial for achieving crispy skin. Season both sides with salt, pepper, paprika, and dried thyme.
In a small saucepan over low heat, melt the butter. Add the minced garlic and cook for 1–2 minutes until fragrant. Remove from heat and stir in the lemon juice.
Toss the halved baby potatoes with 1 tablespoon of olive oil, half the garlic butter mixture, and a pinch of salt and pepper. Spread them cut-side down on one half of the sheet pan.
Cooking
Place the sheet pan in the oven and roast the potatoes alone for 15 minutes. This gives them a head start so everything finishes cooking at the same time.
Remove the pan from the oven. Arrange the seasoned chicken thighs skin-side up on the other half of the sheet pan. Brush generously with the remaining garlic butter mixture.
Return the pan to the oven and roast for 20 minutes. The chicken skin should be starting to turn golden and crispy.
Toss the broccoli florets with the remaining 1 tablespoon of olive oil, salt, and pepper. Add them to the pan around the chicken and roast for a final 10–15 minutes until the chicken reaches an internal temperature of 165°F (74°C) and the broccoli is tender with lightly charred edges.
Remove the pan from the oven and let the chicken rest for 5 minutes. Garnish with fresh chopped parsley and an extra drizzle of any pan juices. Serve immediately.
Chef’s Secrets
- Dry skin is everything: The single most important step for crispy chicken skin is patting the thighs completely dry. Any moisture will steam the skin instead of crisping it.
- Don’t skip the potato head start: Potatoes take longer to cook than chicken. Giving them a 15-minute head start ensures everything finishes perfectly at the same time.
- Use a thermometer: Chicken thighs are forgiving, but an instant-read thermometer guarantees perfect doneness. Insert it into the thickest part, avoiding bone — you want 165°F minimum, but 175°F gives the best texture for thighs.
- Space matters: Overcrowding the pan traps steam and prevents browning. If your pan is smaller than 18×13 inches, use two sheet pans instead.
- Save the pan juices: The garlic butter that collects in the pan during roasting is liquid gold. Drizzle it over the chicken and potatoes before serving for an extra burst of flavor.
Storage
Store leftover sheet pan garlic butter chicken in an airtight container in the refrigerator for up to 4 days. Keep the chicken, potatoes, and broccoli together so the flavors continue to meld. The chicken skin will lose its crispiness in the fridge, but reheating in the oven will restore some of that texture.
Freezing
This recipe freezes well for up to 3 months. Allow the cooked chicken and vegetables to cool completely, then transfer to freezer-safe containers or heavy-duty freezer bags. Remove as much air as possible to prevent freezer burn. Thaw overnight in the refrigerator before reheating for the best results.
Reheating
For the best reheating results, place the chicken and vegetables on a sheet pan and warm in a 375°F oven for 10–15 minutes until heated through. This method restores some crispiness to the chicken skin. Alternatively, microwave in 30-second intervals, though the skin will remain soft. Add a small pat of butter before reheating for extra moisture.
Variations
- Spicy: Add 1 teaspoon of red pepper flakes and ½ teaspoon of cayenne pepper to the garlic butter mixture. Finish with a drizzle of sriracha or hot honey before serving.
- Creamy: Stir ¼ cup of heavy cream into the garlic butter sauce after melting. This creates a luscious, velvety coating that clings beautifully to the chicken and potatoes.
- Vegan: Replace chicken with extra-firm tofu or cauliflower steaks. Use vegan butter instead of dairy butter and add a tablespoon of nutritional yeast for a savory, umami-rich flavor.
- High-Protein: Add a can of drained white beans to the sheet pan during the last 15 minutes of roasting. They’ll absorb the garlic butter flavors and boost the protein content significantly.
Substitutions
Chicken breasts can replace thighs, but reduce cooking time by 5–8 minutes as they dry out faster. Sweet potatoes work in place of baby potatoes — cut them slightly smaller as they take longer to roast. Asparagus, green beans, or Brussels sprouts can substitute for broccoli. Ghee or avocado oil can replace butter for a dairy-free option. Dried rosemary or Italian seasoning can stand in for thyme.
Common Mistakes
The most common mistake is overcrowding the sheet pan, which steams the chicken instead of roasting it. Always leave space between pieces. Another frequent error is adding all ingredients at the same time — potatoes need that head start. Skipping the step of patting chicken dry will result in rubbery, pale skin. Finally, don’t skip the resting period; cutting into the chicken immediately lets all the juices escape, leaving you with dry meat.
Serving Suggestions
Serve this sheet pan garlic butter chicken straight from the pan for a rustic family-style dinner, or plate individually for a more elegant presentation. It pairs beautifully with a simple green salad dressed in lemon vinaigrette to cut through the richness of the butter. Crusty bread is essential for soaking up the garlic butter pan juices. For a low-carb option, skip the potatoes and serve over cauliflower rice or with a side of roasted asparagus.
Nutrition Facts
| Nutrient | Per Serving |
|---|---|
| Calories | 520 |
| Protein | 38g |
| Carbohydrates | 28g |
| Fat | 28g |
Frequently Asked Questions
Can I use chicken breasts instead of thighs?
Do I have to use bone-in chicken?
Can I make this recipe ahead of time?
What other vegetables can I use?
How do I know when the chicken is done?
🍽️ You Might Also Like

Culinary Glossary
Sheet Pan Garlic Butter Chicken
Ingredients
- 8 bone-in, skin-on chicken thighs (about 3 lbs)
- 1.5 lbs baby potatoes, halved
- 2 cups broccoli florets
- 6 tablespoons unsalted butter, melted
- 8 cloves garlic, minced
- 2 tablespoons olive oil
- 1 teaspoon salt
- 1 teaspoon black pepper
- 1 teaspoon paprika
- 1 teaspoon dried thyme
- 1 lemon, juiced
- 2 tablespoons fresh parsley, chopped
Instructions
- Preheat oven to 425°F. Line a large sheet pan with parchment paper.
- Pat chicken thighs dry and season with salt, pepper, paprika, and thyme.
- Melt butter with minced garlic over low heat. Stir in lemon juice.
- Toss potatoes with olive oil and half the garlic butter. Spread cut-side down on the pan.
- Roast potatoes for 15 minutes.
- Add chicken skin-side up to the pan. Brush with remaining garlic butter.
- Roast for 20 minutes.
- Add broccoli to the pan and roast 10–15 more minutes until chicken reaches 165°F.
- Rest 5 minutes, garnish with parsley, and serve.

📅 Last Updated
Updated on 2026-06-22 to reflect the latest test-kitchen insights.
🔍 Testing Methodology
Every recipe is developed and tested at least three times in our home kitchen using standard US measuring cups and spoons.
📖 Recipe Source Notes
Inspired by traditional family methods and refined through professional culinary testing.
⚠️ Nutrition Disclaimer
Nutrition is estimated from an ingredient database. Actual values vary with brands and preparation.