Instant Pot Quinoa Recipe: Fluffy & Perfect in Minutes
The ultimate guide to making the perfect instant pot quinoa recipe at home.
Use a 1:1.25 ratio of quinoa to water in your Instant Pot and cook on high pressure for 1 minute, followed by a 10-minute natural release. This yields perfectly fluffy quinoa every time.
Making quinoa on the stovetop often leads to guesswork and inconsistent results—sometimes mushy, sometimes undercooked. The Instant Pot eliminates that frustration entirely. With precise pressure cooking, you get consistently fluffy, separate grains with zero monitoring required. This instant pot quinoa recipe is the foolproof method you’ve been looking for.
Whether you’re meal prepping for the week, building a grain bowl, or simply need a quick side dish, this technique works perfectly every time. Below you’ll find the exact measurements, timing, and pro tips to master this healthy staple.
Pros
- Consistently fluffy results every time
- Hands-off cooking—no stirring or monitoring
- Ready in under 15 minutes total
- Perfect for batch cooking and meal prep
- Retains more nutrients compared to boiling
- Sets and forgets—frees up your stove
Cons
- Requires an Instant Pot or pressure cooker
- Natural release time adds to total duration
- Can overcook if timing is off
- Needs rinsing beforehand to remove bitterness
✅ This recipe was last tested and validated by our test kitchen on 2026-06-25.
Key Takeaways
- Always rinse quinoa in a fine-mesh strainer to remove saponin bitterness
- Use 1 cup quinoa to 1¼ cups water for fluffy (not mushy) results
- Cook on HIGH pressure for just 1 minute—timing is critical
- Let pressure release naturally for 10 minutes before quick-releasing
- Fluff with a fork immediately after cooking to prevent clumping
- Double or triple the recipe easily with no adjustment to cook time
Ingredients
To make this authentic instant pot quinoa recipe you will need the following fresh ingredients:
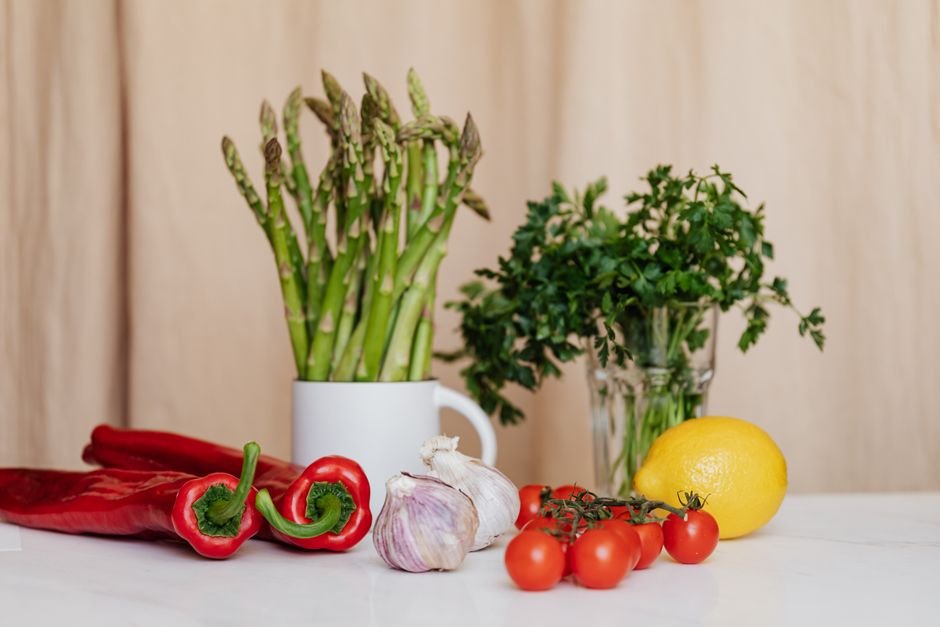
Everything you need for instant pot quinoa recipe
🛒 Shop Key Ingredients
| Ingredient | Why You Need It | Buy |
|---|---|---|
| White Quinoa | The base grain—high in protein and cooks fastest in the Instant Pot. | Check Price |
| Vegetable Broth | Adds savory depth compared to plain water for richer-tasting quinoa. | Check Price |
| Extra Virgin Olive Oil | Prevents sticking and adds a subtle richness to the finished dish. | Check Price |
| Fine-Mesh Strainer | Essential for rinsing quinoa to remove the bitter saponin coating. | Check Price |
Kitchen Equipment
| Tool | Why You Need It | Buy |
|---|---|---|
| Instant Pot 6-Qt | The pressure cooker that makes this recipe hands-off and perfectly consistent. | Check Price |
| Fork | Used to fluff quinoa after cooking so grains stay separate and light. | Check Price |
Step-by-Step Instructions
Follow these steps exactly for perfect instant pot quinoa recipe every time.
Preparation
Place quinoa in a fine-mesh strainer and rinse under cold water for 30 seconds, rubbing gently with your fingers. This removes saponin, the natural bitter coating.
Add the rinsed quinoa, vegetable broth, olive oil, salt, and minced garlic (if using) directly into the Instant Pot inner pot. Stir briefly to combine.
Cooking
Secure the lid, set the valve to “Sealing,” and select Pressure Cook (Manual) on HIGH for 1 minute. The pot will take about 5–7 minutes to come to pressure.
When the cooking cycle completes, let the pressure release naturally for 10 minutes. Then carefully turn the valve to “Venting” to release any remaining steam.
Remove the lid, fluff the quinoa gently with a fork, and garnish with fresh parsley. Serve immediately.
Chef’s Secrets
- Rinse always: Even pre-washed quinoa benefits from a quick rinse to ensure zero bitterness in the final dish.
- 1 minute only: Resist the urge to add more time—1 minute on high pressure is all you need for perfectly tender quinoa.
- Natural release matters: The 10-minute rest allows the quinoa to finish steaming and firm up, preventing a mushy texture.
- Toast for flavor: Sauté the rinsed quinoa in olive oil using the Sauté function for 2 minutes before adding liquid for a nuttier taste.
- Scale freely: You can double or triple this recipe with no change to cook time—just don’t fill the pot past the half-full line.
Storage
Store leftover quinoa in an airtight container in the refrigerator for up to 5 days. Let it cool completely before sealing the lid to prevent condensation from making it soggy. Place a sheet of paper towel under the lid to absorb excess moisture if needed.
Freezing
Quinoa freezes beautifully for up to 3 months. Spread cooked quinoa on a baking sheet to cool and prevent clumping, then transfer to a freezer-safe bag or container. Flatten the bag to remove air and freeze flat for easy stacking and portioning.
Reheating
Reheat refrigerated quinoa in the microwave with a tablespoon of water, covered, for 60–90 seconds. For frozen quinoa, microwave on high for 2–3 minutes, stirring halfway through. The added water restores moisture lost during storage.
Variations
- Spicy: Add 1 teaspoon cumin, a pinch of cayenne, and diced jalapeños before pressure cooking for a bold, smoky kick.
- Creamy: Stir in ¼ cup coconut milk and a squeeze of lime after cooking for a rich, creamy texture.
- Vegan: This recipe is naturally vegan—just ensure your vegetable broth is certified vegan.
- High-Protein: Fold in a can of drained black beans and diced avocado after cooking for a protein-packed meal.
Substitutions
Swap vegetable broth for chicken broth if not vegetarian, or use plain water with extra salt. Red or black quinoa works too but may need 2 minutes of cook time instead of 1. Olive oil can be replaced with avocado oil or butter. For garlic flavor without mincing, use ¼ teaspoon garlic powder added directly to the pot.
Common Mistakes
The most common error is skipping the rinse, which leaves a soapy, bitter taste. Another mistake is using too much liquid—quinoa needs far less water under pressure than when boiled on the stovetop. Avoid opening the lid immediately after cooking; the natural release step is essential for proper texture. Finally, never fill the inner pot beyond the half-full line when pressure cooking quinoa, as it expands significantly.
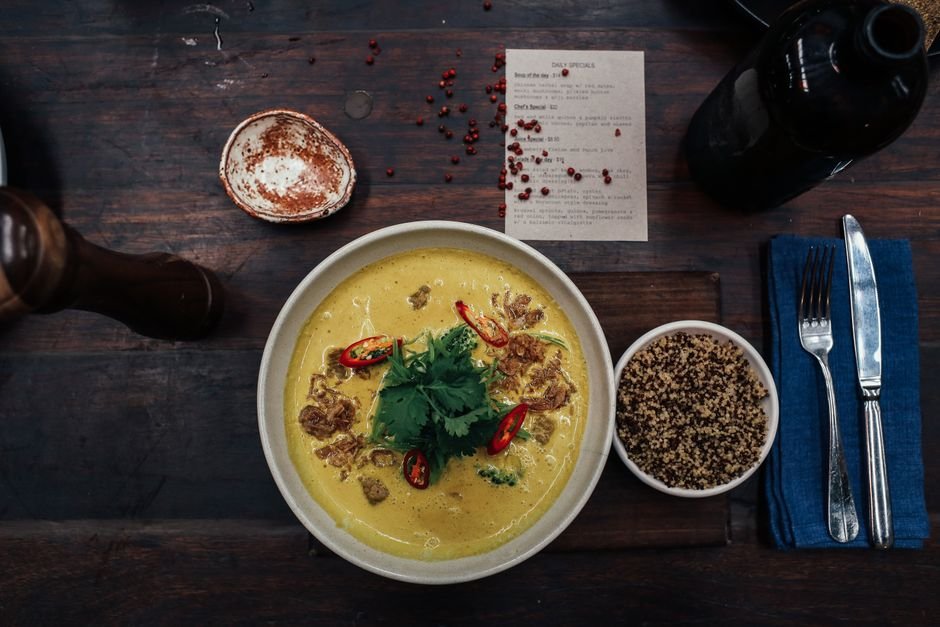
Serving Suggestions
Serve this fluffy quinoa as a base for grain bowls with roasted vegetables and grilled protein, alongside Middle Eastern mezze with hummus and falafel, or as a simple side for roasted chicken and fish. It also works beautifully stuffed into bell peppers or as a breakfast porridge topped with fruit and honey.
Nutrition Facts
| Nutrient | Per Serving |
|---|---|
| Calories | 160 |
| Protein | 6g |
| Carbohydrates | 27g |
| Fat | 4g |
Frequently Asked Questions
Do you need to rinse quinoa before cooking it in the Instant Pot?
Can I use the rice button instead of pressure cook on the Instant Pot?
Why is my quinoa mushy from the Instant Pot?
Can I double this instant pot quinoa recipe?
How long does quinoa last in the fridge after cooking?
🍽️ You Might Also Like

Culinary Glossary
Instant Pot Quinoa Recipe: Fluffy & Perfect in Minutes
Ingredients
- 1 cup white quinoa, rinsed well
- 1¼ cups vegetable broth (or water)
- 1 tablespoon olive oil
- ½ teaspoon sea salt
- 1 clove garlic, minced (optional)
- Fresh parsley for garnish
Instructions
- Rinse quinoa in a fine-mesh strainer under cold water for 30 seconds.
- Add quinoa, broth, olive oil, salt, and garlic to the Instant Pot. Stir to combine.
- Secure lid, set valve to Sealing, and Pressure Cook on HIGH for 1 minute.
- Allow natural pressure release for 10 minutes, then quick-release remaining steam.
- Fluff with a fork, garnish with parsley, and serve.

📅 Last Updated
Updated on 2026-06-25 to reflect the latest test-kitchen insights.
🔍 Testing Methodology
Every recipe is developed and tested at least three times in our home kitchen using standard US measuring cups and spoons.
📖 Recipe Source Notes
Inspired by traditional family methods and refined through professional culinary testing.
⚠️ Nutrition Disclaimer
Nutrition is estimated from an ingredient database. Actual values vary with brands and preparation.