No Bake Lemon Cheesecake Recipe
The ultimate guide to making the perfect no bake lemon cheesecake at home.
No bake lemon cheesecake is a refreshing, creamy dessert made with a graham cracker crust and a lemon-flavored cream cheese filling. It requires no oven time and sets in the fridge for a cool, tangy treat.
No bake lemon cheesecake is the perfect dessert for warm days when you want something sweet and refreshing without turning on the oven. This recipe combines a buttery graham cracker crust with a light, fluffy lemon cream cheese filling, creating a balance of tangy and sweet flavors that melt in your mouth.
Whether you’re a beginner or an experienced baker, this no-foolproof recipe will guide you through every step. With just a few simple ingredients and minimal prep time, you’ll have a stunning dessert that’s sure to impress your family and friends.
Pros
- No oven required, perfect for hot weather
- Quick and easy to prepare
- Refreshing and light flavor
- Can be made ahead of time
- Great for beginners
- Customizable with different toppings
Cons
- Requires several hours of chilling time
- Needs to be kept refrigerated
- Can be too tart if not balanced with enough sugar
✅ This recipe was last tested and validated by our test kitchen on 2026-06-21.
Key Takeaways
- Use full-fat cream cheese for the best texture and flavor
- Make sure your cream cheese is at room temperature before mixing
- Chill the crust for at least 30 minutes before adding the filling
- Use fresh lemon juice for the brightest flavor
- Let the cheesecake set for at least 4 hours, preferably overnight
- Run a knife around the edge before releasing from the pan
Ingredients
To make this authentic no bake lemon cheesecake you will need the following fresh ingredients:
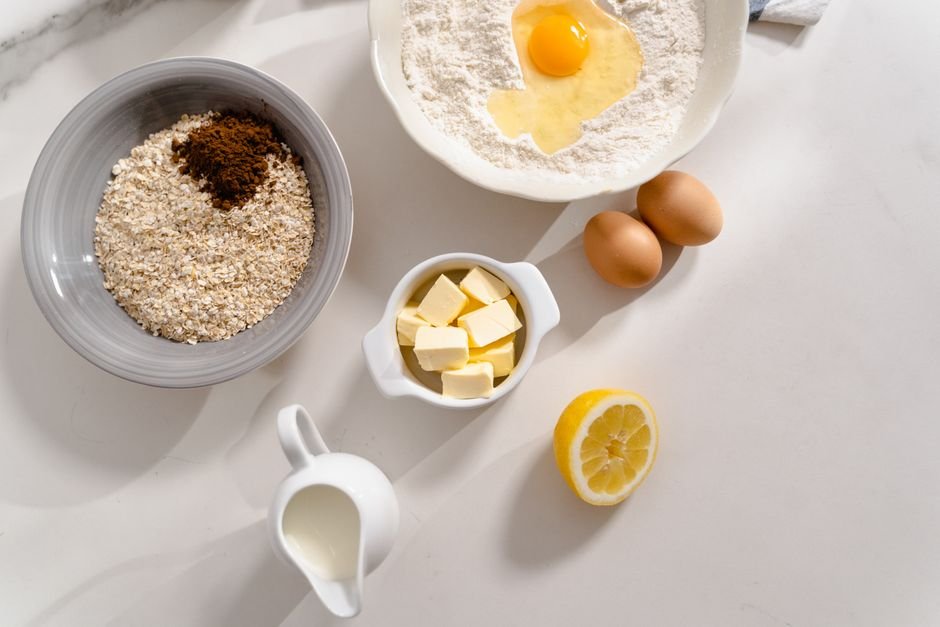
Everything you need for no bake lemon cheesecake
🛒 Shop Key Ingredients
| Ingredient | Why You Need It | Buy |
|---|---|---|
| Cream Cheese | The base of the cheesecake filling, providing creamy texture and tangy flavor | Check Price |
| Graham Crackers | Used to make the crust, adding a sweet, crunchy base | Check Price |
| Fresh Lemons | Provides the bright, citrusy flavor that defines this cheesecake | Check Price |
| Heavy Whipping Cream | Whipped and folded in to lighten the filling and add airiness | Check Price |
Kitchen Equipment
| Tool | Why You Need It | Buy |
|---|---|---|
| 9-inch Springform Pan | Allows easy removal of the cheesecake after setting | Check Price |
| Electric Mixer | For beating the cream cheese until smooth and fluffy | Check Price |
| Mixing Bowls | For combining ingredients at different stages | Check Price |
| Measuring Cups and Spoons | For accurate ingredient measurements | Check Price |
Step-by-Step Instructions
Follow these steps exactly for perfect no bake lemon cheesecake every time.
Preparation
Mix graham cracker crumbs, melted butter, and sugar in a bowl until well combined. Press the mixture firmly into the bottom of a 9-inch springform pan. Use the bottom of a glass to compact it evenly.
Place the pan in the refrigerator for at least 30 minutes to allow the crust to set firmly before adding the filling.
In a large bowl, beat the softened cream cheese with an electric mixer until smooth and creamy, about 2 minutes.
Add the powdered sugar, lemon juice, lemon zest, and vanilla extract to the cream cheese. Beat until everything is well incorporated and smooth.
In a separate bowl, whip the heavy cream until stiff peaks form. This will add lightness to the cheesecake filling.
Gently fold the whipped cream into the cream cheese mixture using a spatula. Be careful not to deflate the whipped cream.
Pour the filling over the chilled crust in the springform pan. Smooth the top with a spatula.
Cover the cheesecake with plastic wrap and refrigerate for at least 4 hours, or preferably overnight, until the filling is firm.
Run a knife around the edge of the pan before releasing the springform. Slice and serve with fresh berries if desired.
Cooking
This recipe is entirely no-bake. The cheesecake sets in the refrigerator, so there is no cooking step involved.
Chef’s Secrets
- Room temperature cream cheese: Make sure your cream cheese is fully softened at room temperature before beating. This prevents lumps in your filling.
- Fresh lemon juice: Always use fresh lemon juice instead of bottled for the best flavor. Bottled juice can taste flat and artificial.
- Don’t overwhip the cream: Whip the heavy cream just until stiff peaks form. Overwhipping can cause it to separate and become grainy.
- Chill thoroughly: Patience is key. Let the cheesecake chill for at least 4 hours, but overnight is best for the perfect texture.
- Use a hot knife: For clean slices, dip your knife in hot water and wipe dry before each cut.
Storage
Store the no bake lemon cheesecake in the refrigerator, covered with plastic wrap or in an airtight container. It will keep fresh for up to 5 days. Make sure it stays chilled at all times to maintain its texture and prevent spoilage.
Freezing
You can freeze the cheesecake for longer storage. Wrap it tightly in plastic wrap and then aluminum foil. It will keep in the freezer for up to 2 months. Thaw in the refrigerator overnight before serving. Note that the texture may change slightly after freezing.
Reheating
This recipe does not require reheating as it is served cold. If you’ve frozen the cheesecake, simply thaw it in the refrigerator overnight and serve chilled. Never microwave or heat the cheesecake as it will melt and lose its shape.
Variations
- Spicy: Add a pinch of cayenne pepper to the crust for a surprising kick that complements the lemon.
- Creamy: Increase the cream cheese to 24 oz for an even richer, denser cheesecake.
- Vegan: Use vegan cream cheese, coconut cream instead of heavy cream, and a dairy-free crust made with coconut oil.
- High-Protein: Mix in a scoop of vanilla protein powder to the filling for a protein boost.
Substitutions
If you don’t have graham crackers, you can use digestive biscuits or vanilla wafers for the crust. For a gluten-free option, use gluten-free graham crackers or almond flour. You can substitute the heavy cream with whipped topping for a lighter version, though the texture will be different. Lemon extract can be used in addition to or instead of lemon zest for a more intense lemon flavor.
Common Mistakes
One of the most common mistakes is not letting the cream cheese soften completely, which leads to a lumpy filling. Another is not chilling the crust long enough before adding the filling, which can result in a crumbly base. Overmixing the filling can also incorporate too much air, causing cracks as it sets. Finally, trying to rush the chilling time will result in a cheesecake that doesn’t hold its shape when sliced.
Serving Suggestions
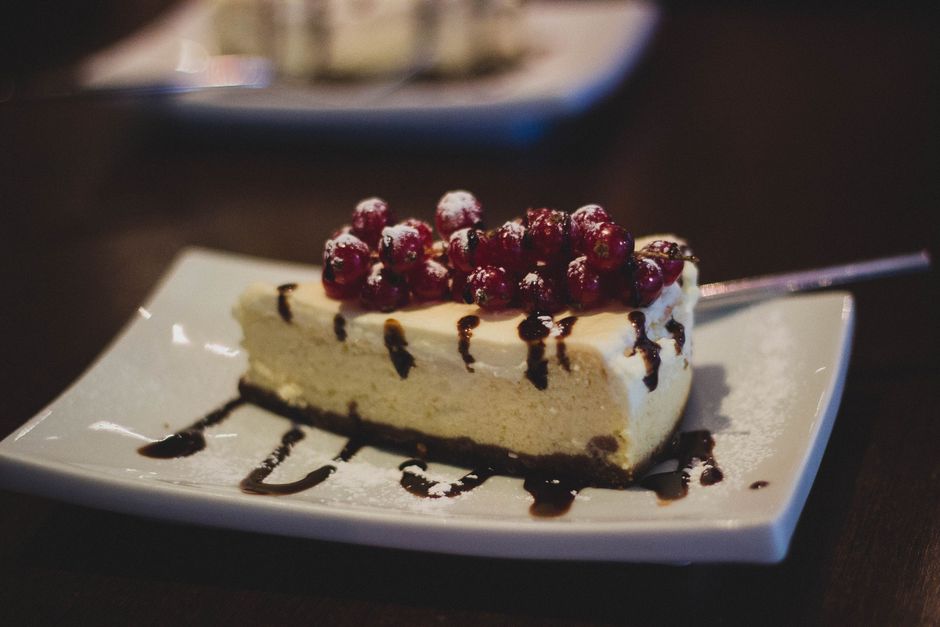
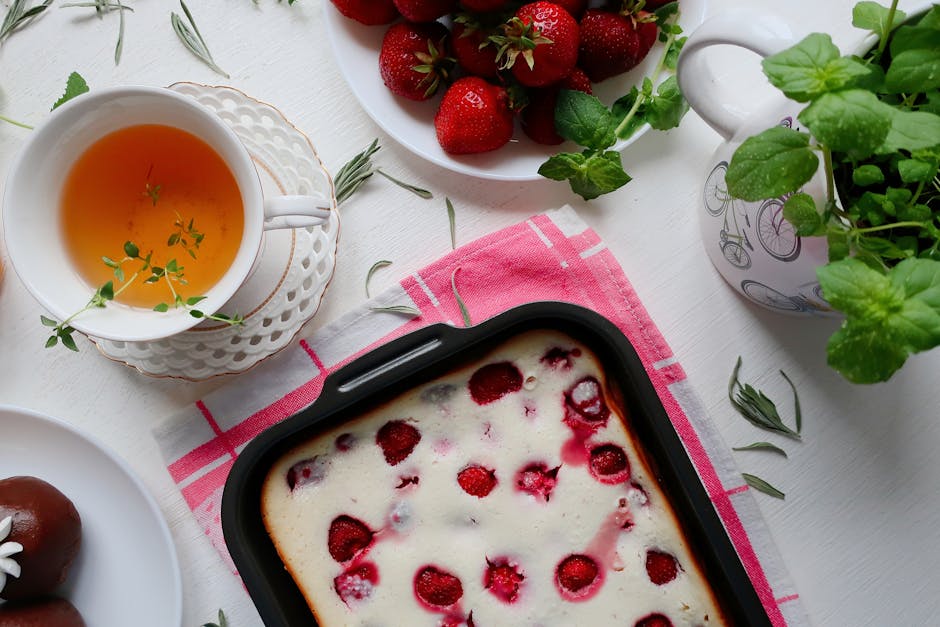
Serve slices of the cheesecake with a dollop of whipped cream and fresh berries on top. A drizzle of lemon curd or a sprinkle of toasted coconut flakes can add extra flavor and texture. Pair with a cup of tea or coffee for a delightful dessert experience.
Nutrition Facts
| Nutrient | Per Serving |
|---|---|
| Calories | 350 calories |
| Protein | 5g |
| Carbohydrates | 30g |
| Fat | 24g |
Frequently Asked Questions
How long does no bake lemon cheesecake last in the fridge?
Can I use bottled lemon juice instead of fresh?
Why is my no bake cheesecake not setting?
Can I make this cheesecake ahead of time?
Is it possible to make this recipe vegan?
🍽️ You Might Also Like
Culinary Glossary
No Bake Lemon Cheesecake Recipe
Ingredients
- 1 1/2 cups graham cracker crumbs
- 1/3 cup melted butter
- 1/4 cup granulated sugar
- 16 oz cream cheese, softened
- 1 cup powdered sugar
- 1/4 cup fresh lemon juice
- 1 tbsp lemon zest
- 1 tsp vanilla extract
- 1 cup heavy whipping cream
- Fresh berries for topping (optional)
Instructions
- Mix graham cracker crumbs, melted butter, and sugar. Press into a 9-inch springform pan.
- Chill the crust for 30 minutes.
- Beat softened cream cheese until smooth.
- Add powdered sugar, lemon juice, lemon zest, and vanilla. Beat until combined.
- In a separate bowl, whip heavy cream until stiff peaks form.
- Fold whipped cream into the cream cheese mixture.
- Pour filling over the chilled crust and smooth the top.
- Refrigerate for at least 4 hours or overnight.
- Run a knife around the edge, release the springform, and serve.

📅 Last Updated
Updated on 2026-06-21 to reflect the latest test-kitchen insights.
🔍 Testing Methodology
Every recipe is developed and tested at least three times in our home kitchen using standard US measuring cups and spoons.
📖 Recipe Source Notes
Inspired by traditional family methods and refined through professional culinary testing.
⚠️ Nutrition Disclaimer
Nutrition is estimated from an ingredient database. Actual values vary with brands and preparation.